I agree with all you guys and thx heaps.. I am getting a speed light in a few months time so I hope that will help..
i tried something last night and here are 2 pics with my lens wide open..

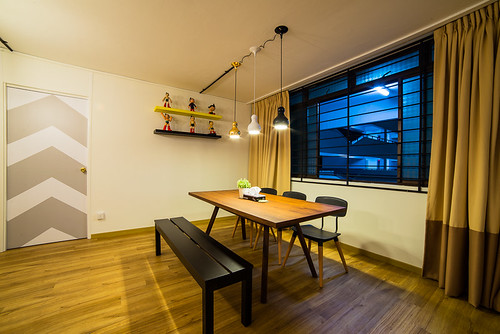
A mode
SP 1/4
F/4.5
ISO 1600
55mm
I was just wondering if its meant to be that bright but its better than what I have been taking


This was something I was just practising with too.. And why is it so blue ?
A mode
SP 1/20
F/5.6
ISO 3200
210mm
Both pics were in Tungsten..
What can I do to improve here
Paul
Sent from my SM-N9005 using Tapatalk


 Thanks useful information:

I used auto white balance around F8 and an ISO of around 800..

 Reply With Quote
 Add To Bookmarks


 Threadstarter

 Nikon D810: D600 (Astro Modded): D7200 and 'stuff', lots of 'stuff'