


 Thanks useful information:


It often gets raised on AP. "How do I add a custom watermark to my photos"
Well here is a tutorial to show you the way.
1. Open Photoshop
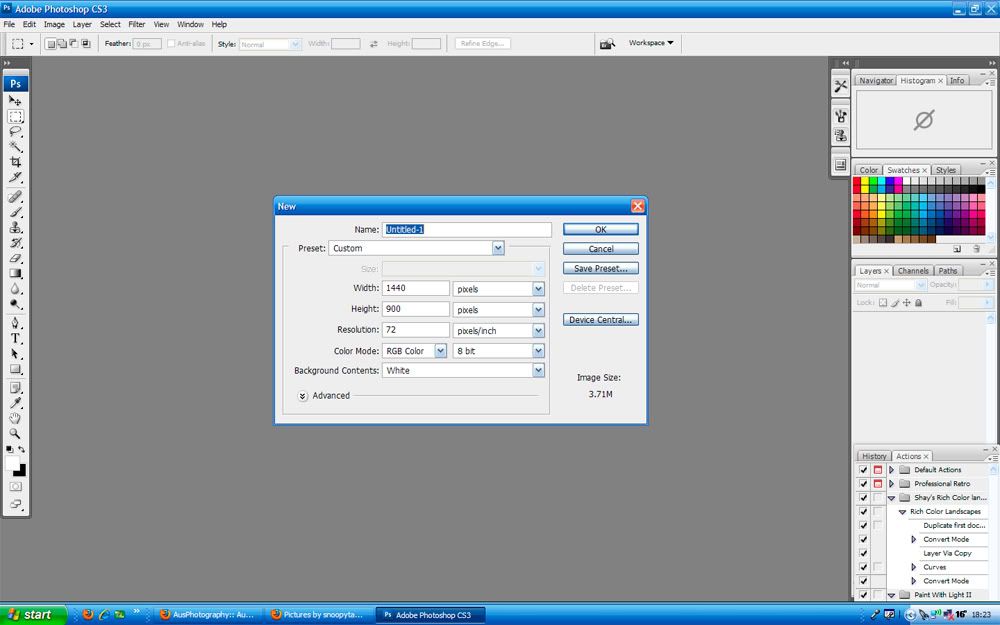
2. Create a NEW blank document (File>New). You will need to set it a few hundred pixels wide by a couple of hundred high (minimum)
3. Using the Text tool, find a font and size that is suitable, then type out what you want your watermark/signature to say, using black as the font colour.
4. You can 'funky' it up by using a different font for the first letters, change font size, bold, underline etc. Add some lines under it, draw a box around it. Really it is up to you.
5. Now to turn your text into a brush so you can use it as a watermark. Using the selection tool draw a selection around your text.
6. Click on EDIT > Define Brush Preset.
7. Give your new brush a name and click OK
You now have your watermark set as a brush so using it is as easy as
1. Open you photo in Photoshop
2. Click on the brush tool
3. Select your watermark brush from the brush selection menu (it is usually right down the bottom of the selections)
4. Set the size opacity and flow
5. Resize your watermark using the [ key to decrease, or the ] key to increase its size.
6. Locate where you want your watermark to appear on your photo and click your left mouse button.
Examples:
Notes:
Don't try and make your watermark to complex, it will just look odd when stamped on a photo.
You can change the colour of your watermark by selecting a different colour just before you select your watermark brush
You can use the eye-dropper to select a colour that exists in your photo, so that your watermark is in that colour


 Reply With Quote
 Add To Bookmarks


