


 Thanks useful information:
Firstly, lets look at what an 'action' is.
Basically an action is a series of processing steps combined into a set. So for instance, to resize a photo you can go Image > Size > (type in the size) > Click OK > File > Save for web and devices > Click OK > Save. All of these steps can be recorded and saved as an action, and then all you need to do is click the action and run it.
This tutorial is not a lesson in how to create actions. It is a lesson in how to use them!
Photoshop comes with some basic actions included, you can get more from a variety of sources. Some will need to be paid for, others are free. www.atncentral.com is a good repository of free photoshop actions. This tutorial includes screen shots from Photoshop CS4, if you are using a previous version of photoshop, your screen may look slightly different, but the process is the same.
Now onto the tutorial.
We are going to use an action from the www.atncentral.com website for this, on the action central website click on the category list down the left hand side called "Image Enhancements", scroll down that page (alphabetical order) and find 'professional retro'. Click on the name to download the zip file to your PC (I suggest saving to the desktop).
Unzip it, and you will have a file called "professional retro.atn". That is the action file. You now need to install the action into photoshop.
Installing an Action into Photoshop
1.Open photoshop
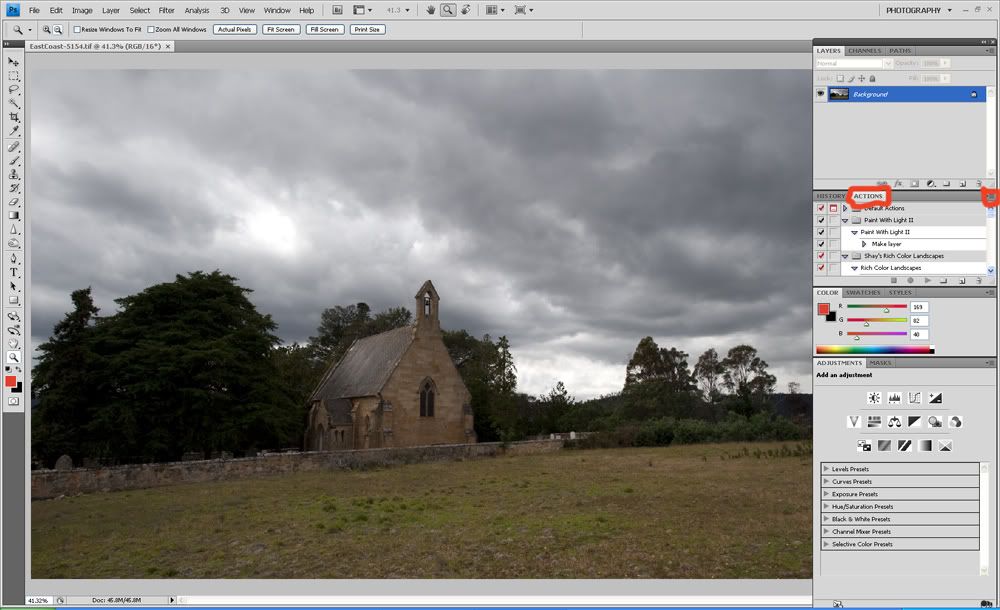
2. Look on the palettes on the right hand side, do you have an actions one visible, if not, go to the top photoshop menu, click on 'window' and place a tick next to the actions one. The action palette will now be visible.
3. Install your action. Open the action palette and click the small triangle to the right of the action tab, this will open a menu, find and select 'load actions' and direct it to where you have saved the 'professional retro.atn' file, select the file and click load. You only need to do this once. When you have loaded an action, it then is permanently added to the actions available to you.
Using an Action
Now that you have your professional retro action installed, we are going to use it on a photo.
1. Open a photo into photoshop that you want to learn how to use an action on.
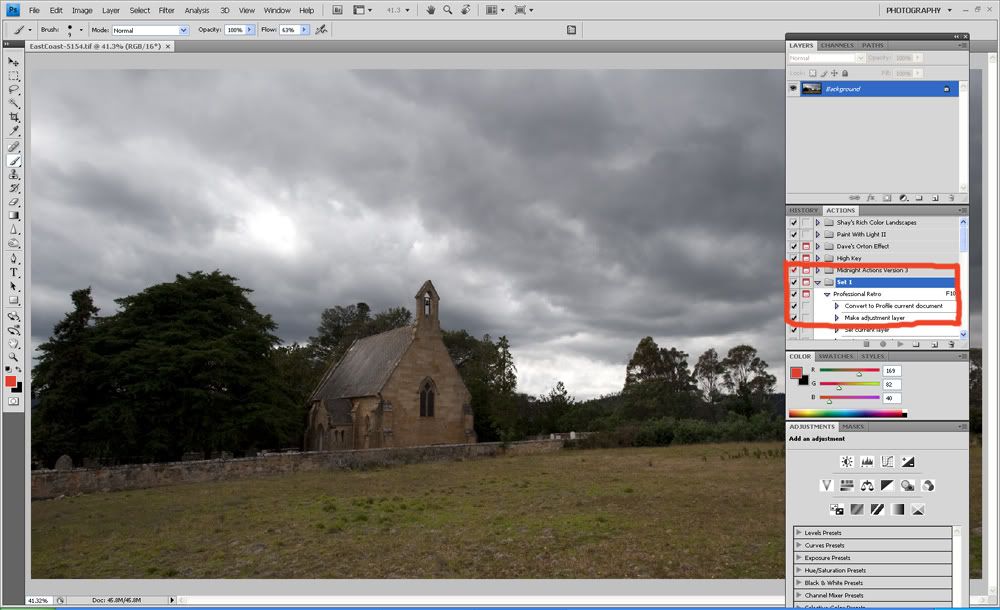
2. Click the action pallette and scroll down the actions to find the 'professional retro' action you just installed. It will generally be a single line, with the action name, but in this case the action is called "set 1". It may be 'closed' or 'open'. If the action has just a single line with a right arrow, it is closed, if it shows with many lines and down arrows it is open. To open a closed action, click the right arrow.
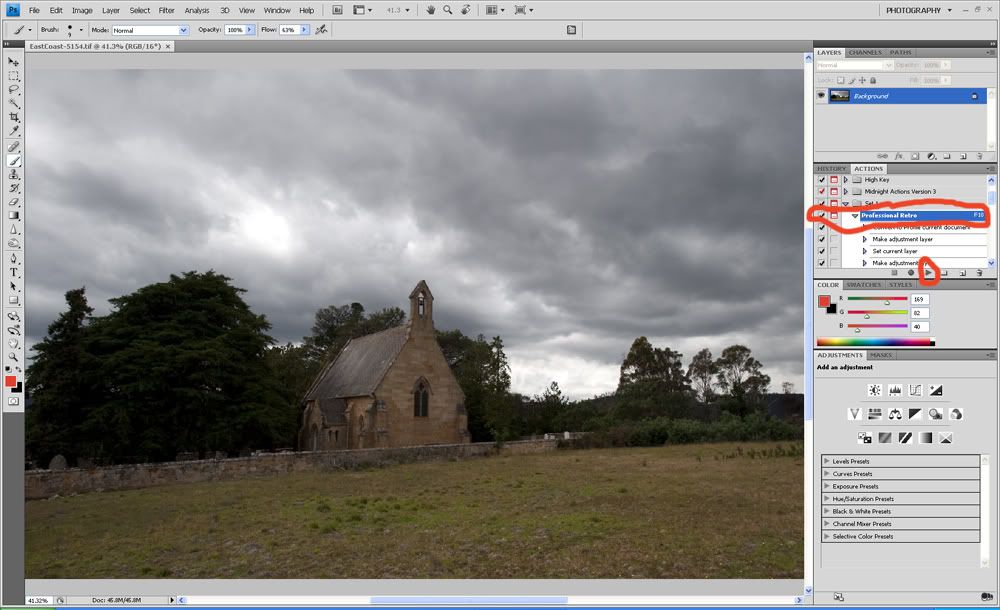
3. To run the action click on the first line in the action and then click the 'play' button. Sit back and watch the action run on your photo.
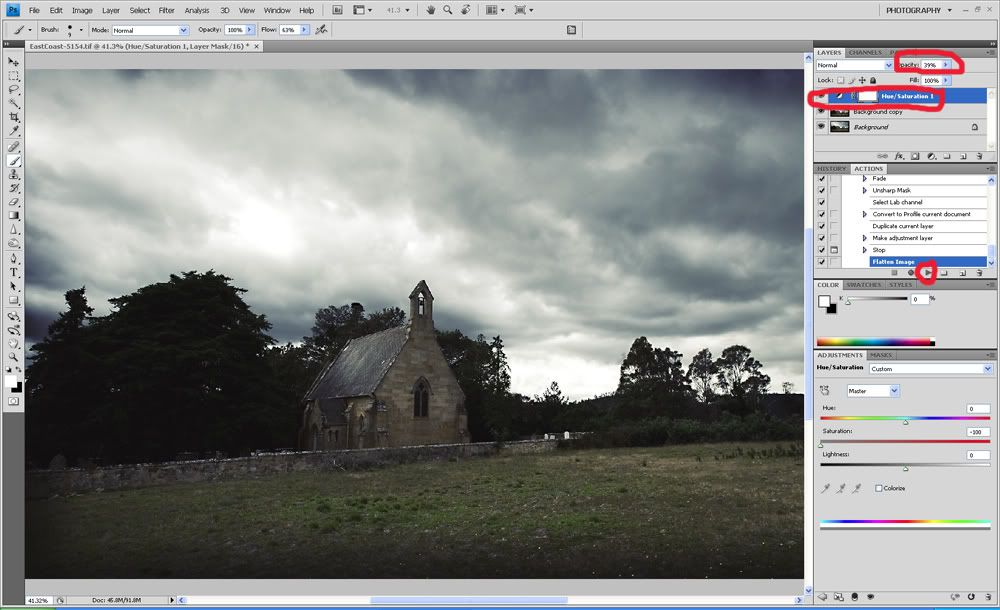
4. This particular action has a 'user stop'. It asks you to look at your photo and adjust the hue/saturation layer to your liking. To do this, click 'stop', go to the layers palette, adjust the opacity of the slider, when happy, click the action palette and click the 'play' button again to let the action continue.
5. The action will then continue and finish.
Notes:
* Some actions do not have stop points or require user intervention, they just run from start to finish.
* Some actions will have several stop points. Stop points will always have instructions on what you can adjust/do at that time.
* Choose appropriate actions for the subject matter of your photo. Not all actions will look good on all photos.
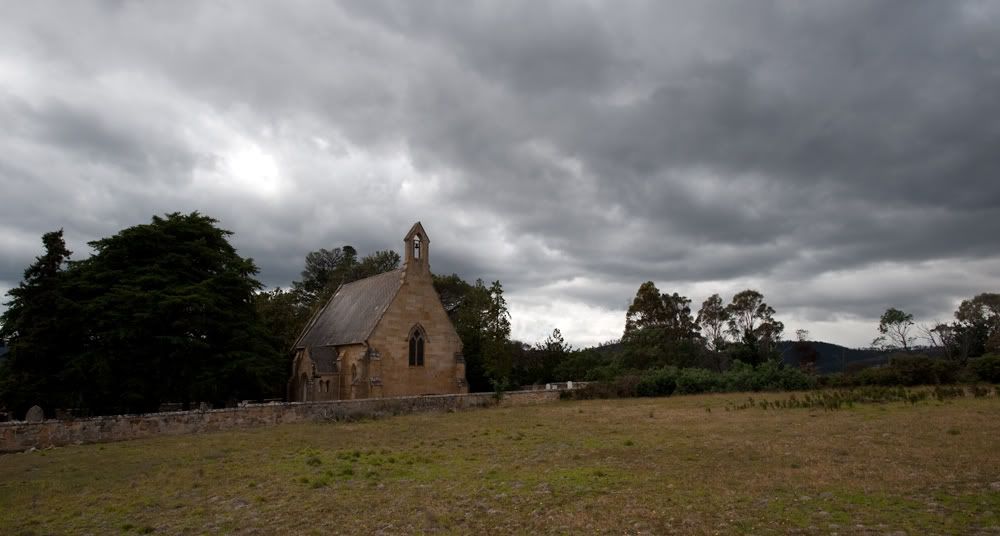
Sample Photo:
Before - Straight from RAW file:
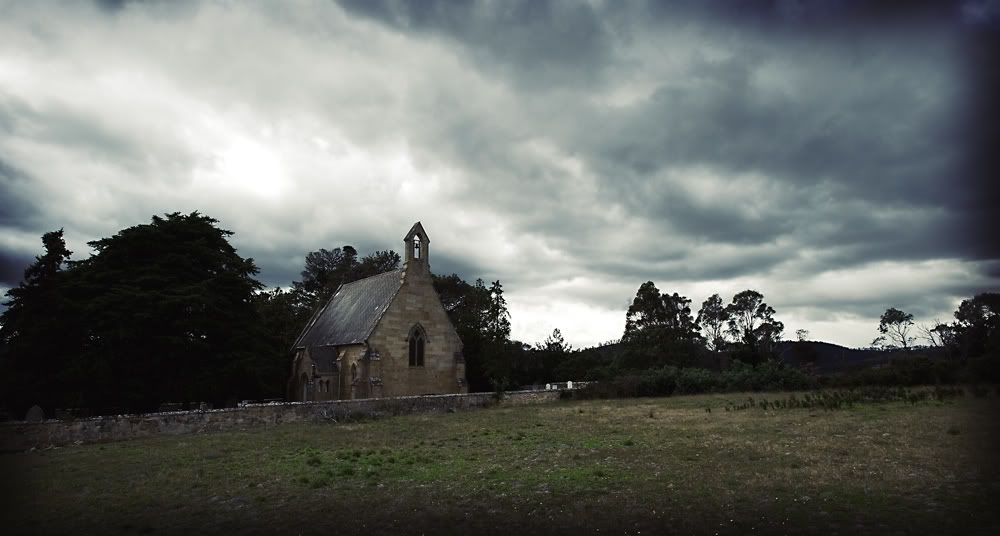
After - Professional Retro Action
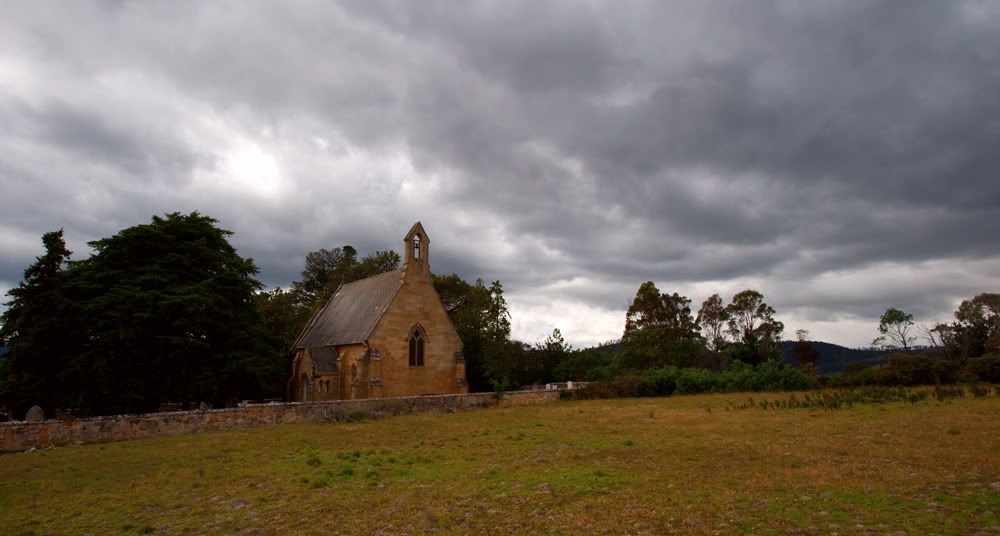
After - Shays Rich Colour Landscape Action
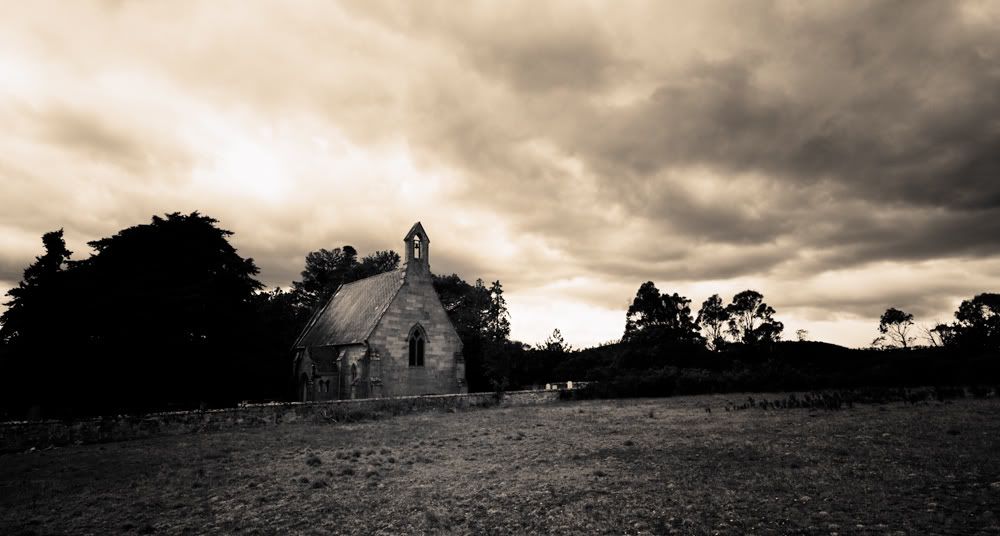
After - Platinotype Action
After - Midnight Action
This tutorial gives you an overview of how actions work within Photoshop. The www.atncentral.com webiste has an extensive range of actions to chose from, or you can find others elsewhere, or even create your own.
I hope this has been useful for members


 Reply With Quote
 Add To Bookmarks
 Threadstarter


