User Tag List

Thanks useful information Thanks useful information:  0
Results 1 to 19 of 19

Thread: DIY Grid Spot

  1. #1
    Member
    Join Date
    18 Nov 2008
    Location
    Melbourne
    Posts
    271
    Mentioned
    0 Post(s)
    Tagged
    0 Thread(s)

    DIY Grid Spot

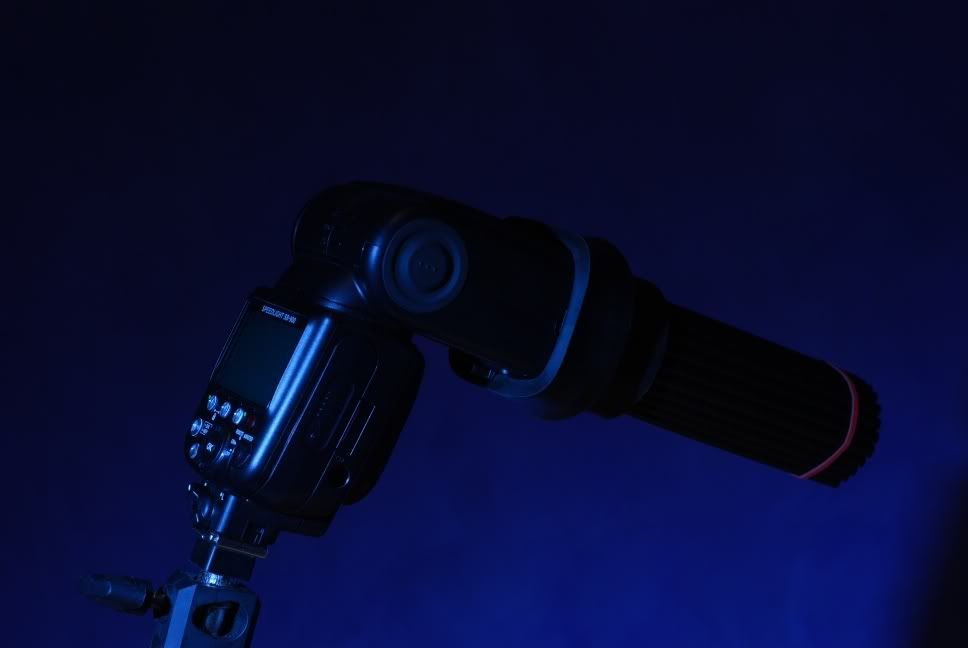
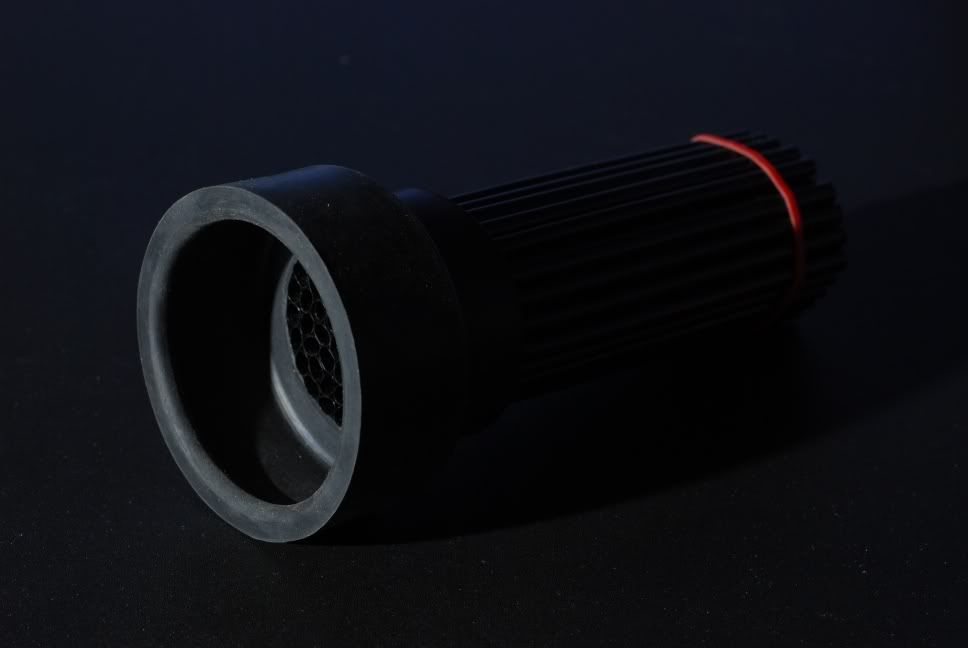
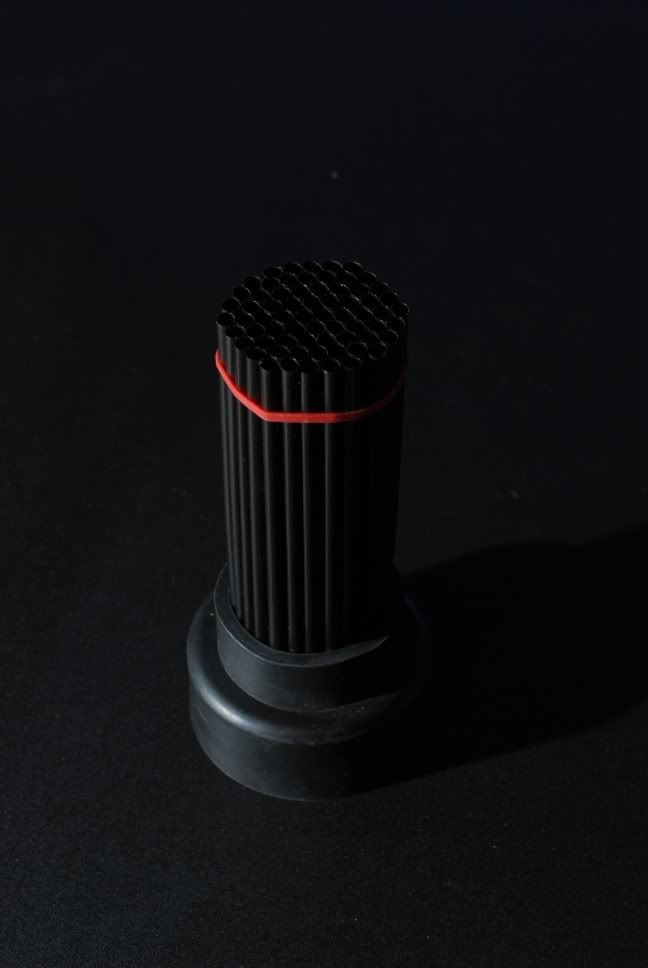
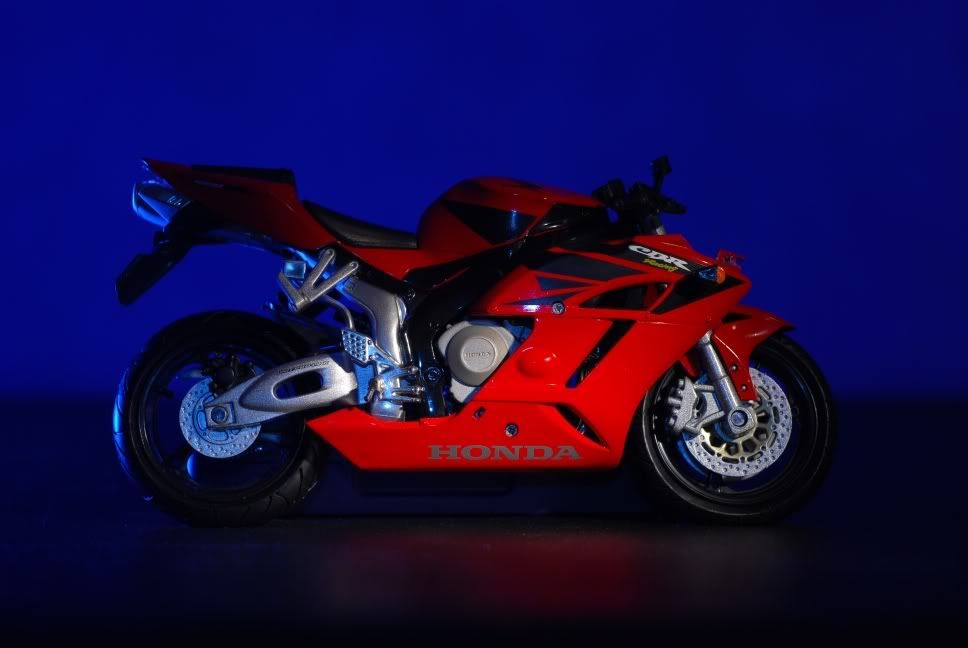
    I made my own grid spot from a rubber plumbing coupling, a bunch of drinking straws and an elastometric fastener.

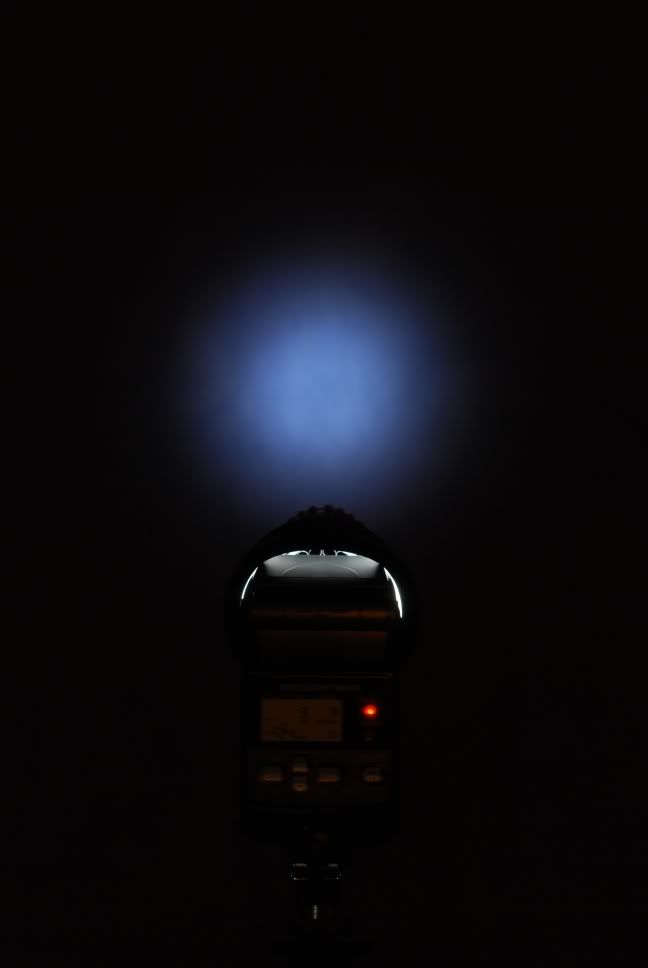
    It cost around $3 all up! The straws are about 12cm long and makes a spot about 30-40cm at a distance of 1m. Here are the pics.

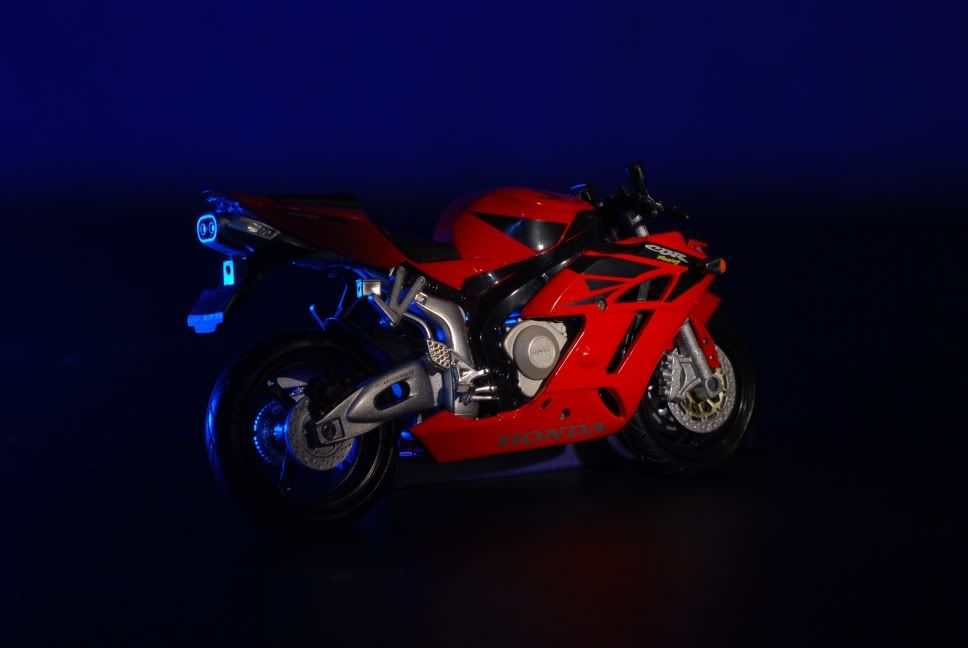
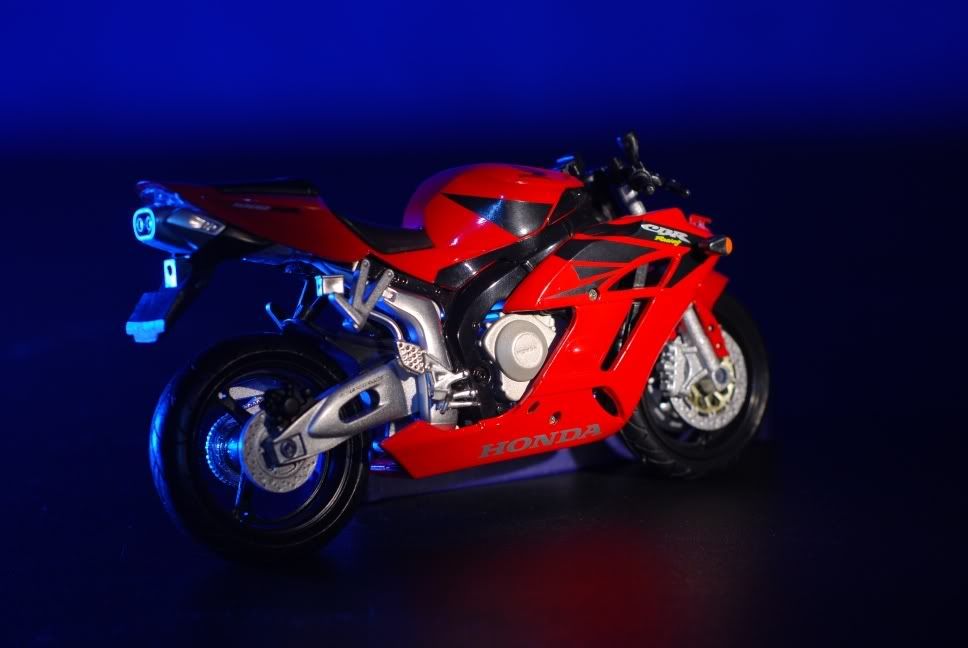
    It's a tight fit on the SB900 head (with the filter holder also) - nice and easy on the SB600 (but with some rear light leakage).


    Last edited by N*A*M; 25-02-2009 at 10:19am.
    Thanks,
    Nam

  2. #2
    Member
    Threadstarter

    Join Date
    18 Nov 2008
    Location
    Melbourne
    Posts
    271
    Mentioned
    0 Post(s)
    Tagged
    0 Thread(s)
    Some quick and dirty test shots...


  3. #3
    Member
    Threadstarter

    Join Date
    18 Nov 2008
    Location
    Melbourne
    Posts
    271
    Mentioned
    0 Post(s)
    Tagged
    0 Thread(s)
    Strobist info:

    SB600 camera left, slightly rearward of the subject, gelled blue with omnibounce
    SB900 camera right, slightly forward of he subject, gelled tungsten with grid spot
    Camera tungsten white balance, lens 50mm 1.8

  4. #4
    Moderately Underexposed
    Join Date
    04 May 2007
    Location
    Marlo, Far East Gippsland
    Posts
    4,902
    Mentioned
    3 Post(s)
    Tagged
    0 Thread(s)
    Inspirational stuff N*A*M

    It provides a beaut honeycomb and the pictures back up how useful it is.

    What diameter/s are the ends of the rubber coupler?
    Andrew
    Nikon, Fuji, Nikkor, Sigma, Tamron, Tokina and too many other bits and pieces to list.


  5. #5
    Member
    Threadstarter

    Join Date
    18 Nov 2008
    Location
    Melbourne
    Posts
    271
    Mentioned
    0 Post(s)
    Tagged
    0 Thread(s)
    it's a fix-a-loo brand coupling from bunnings... used to join the cistern tank flush pipe to the ceramic bowl 
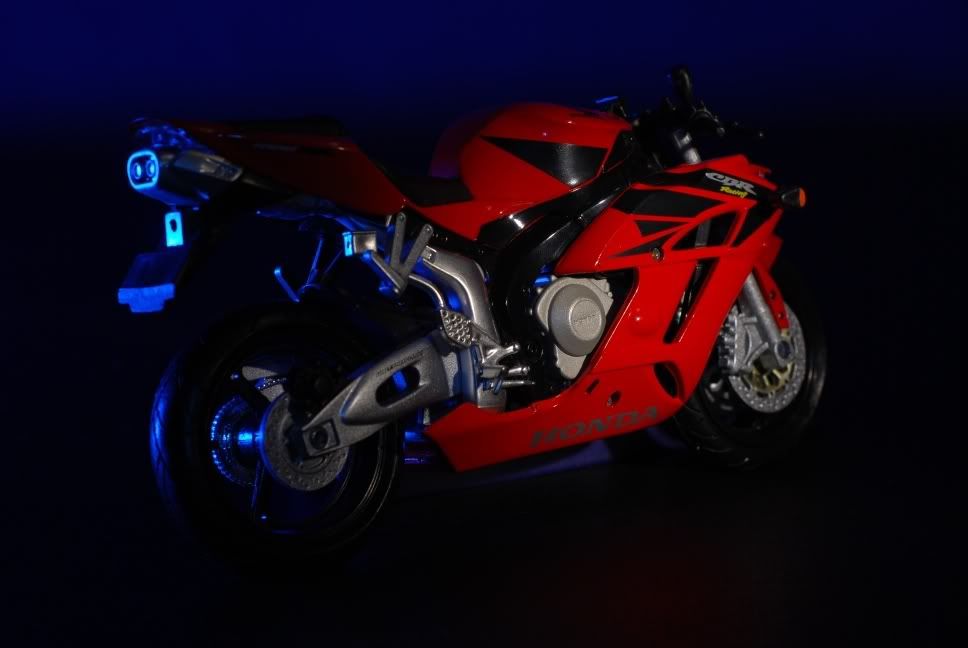
it didn't come in any other size (that i could find) so you can't go wrong. i'm going to make another one with much shorter straws for a bigger diametre spot - and to take up less space in my bag.

  6. #6
    Moderately Underexposed
    Join Date
    04 May 2007
    Location
    Marlo, Far East Gippsland
    Posts
    4,902
    Mentioned
    3 Post(s)
    Tagged
    0 Thread(s)
    Thanks for the added info mate, we don't have a Bunnings within 200klm of here but my mate is a plumber and has a Landcruiser with a big tray and lots of goodies in the back ----
    The straws won't be a problem either, I will take SWMBO down to the local and save them from her bourbon and cokes.

    Hmmm, at that rate the rubber band and the coupling will come for free but the straws will cost me a small fortune.

  7. #7
    Ausphotography Regular
    Join Date
    28 Dec 2008
    Location
    Penrith
    Posts
    1,335
    Mentioned
    0 Post(s)
    Tagged
    0 Thread(s)
    Nifty spot!
    Carmen

    My Stuff:- Canon 50D l EF 28-80 f2.8-4L
    l EF 100-300 f4-5.6 l Canon 100mm f2.8 macro l Tokina 11-16 f2.8 l Pol. Filter l Flash l Grip l Remote l Tripod l Lightroom 2 l CS3

    Constructive Critique of my photos always appreciated

  8. #8
    Member
    Threadstarter

    Join Date
    18 Nov 2008
    Location
    Melbourne
    Posts
    271
    Mentioned
    0 Post(s)
    Tagged
    0 Thread(s)
    my local bartender is probably wondering why his straws keep disappearing... definitely get black straws. the white ones do not contain the light as well and the coloured ones will colour your light.

    at a guess the coupling is about 80-100mm diametre at the big end and maybe 50-60mm at the small end. a plumber will know straight away i'd expect.

  9. #9
    Member
    Join Date
    18 Jun 2008
    Location
    Sydney
    Posts
    3
    Mentioned
    0 Post(s)
    Tagged
    0 Thread(s)
    Great work Nam

    Have the same set up minus the SB900 and will give it a go. THANKS for sharing.

    Cheers
    Garry

    Nikon D80 - some lenses

  10. #10
    Member
    Join Date
    18 Jun 2008
    Location
    Sydney
    Posts
    3
    Mentioned
    0 Post(s)
    Tagged
    0 Thread(s)
    Sorry Nam

    Just another question:

    What power on the speedlights?

    Cheers

  11. #11
    A royal pain in the bum! arthurking83's Avatar
    Join Date
    04 Jun 2006
    Location
    the worst house, in the best street
    Posts
    8,777
    Mentioned
    4 Post(s)
    Tagged
    0 Thread(s)
    Just thinking about this one(as you may well know ) .. is there any reason that you used, or read about using straws?

    Why not just a 50mmm plastic water pipe or whatever. You can get free off cuts from somewhere such as from a building site, as they'll have tons of 'em just lying around.

    Does the 'honeycomb shape' of the straws have a particular effect that a single thicker pipe won't?
    Nikon D800E, D300, D70s
    {Nikon}; -> 50/1.2 : 500/8 : 105/2.8VR Micro : 180/2.8 ais : 105mm f/1.8 ais : 24mm/2 ais
    {Sigma}; ->10-20/4-5.6 : 50/1.4 : 12-24/4.5-5.6II : 150-600mm|S
    {Tamron}; -> 17-50/2.8 : 28-75/2.8 : 70-200/2.8 : 300/2.8 SP MF : 24-70/2.8VC

    {Yongnuo}; -> YN35/2N : YN50/1.8N


  12. #12
    Member
    Join Date
    18 May 2008
    Location
    Bremer Valley
    Posts
    2,570
    Mentioned
    0 Post(s)
    Tagged
    0 Thread(s)
    This is great Nam, simple but very effective. I'd make one myself if it didn't require a highly specialised elastometric fastener!!
    Canon DSLRs & lenses | Fuji X series & lenses | Ricoh GR


  13. #13
    Moderately Underexposed
    Join Date
    04 May 2007
    Location
    Marlo, Far East Gippsland
    Posts
    4,902
    Mentioned
    3 Post(s)
    Tagged
    0 Thread(s)
    Quote Originally Posted by arthurking83 View Post
    Just thinking about this one(as you may well know ) .. is there any reason that you used, or read about using straws?

    Why not just a 50mmm plastic water pipe or whatever. You can get free off cuts from somewhere such as from a building site, as they'll have tons of 'em just lying around.

    Does the 'honeycomb shape' of the straws have a particular effect that a single thicker pipe won't?
    From my limited understanding of light and its properties the straws or "honeycomb" effect work to "channel" light into a very straight path against its natural desire to spread out and illuminate a large area as soon as it leaves the "globe".

    Speedlights these days, as we know, have the zoom mechanism built in to control the spread of light to match the FOV of the focal length of the lens in use but they are still all built to provide maximum "coverage" of the subject with the available light.

    I think the answer to your question is that the more pipes that the light is channeled down, the straighter the path that it ends up traveling.

    Similar questions have popped up in my empty head as to why snoots for studio lights have stepped edges to them instead of a straight cone.
    They then go further and build honeycomb grids to go onto the end of a snoot for further spot effects.

  14. #14
    Ausphotography Regular
    Join Date
    27 Nov 2008
    Location
    Wunghnu Victoria
    Posts
    1,436
    Mentioned
    0 Post(s)
    Tagged
    0 Thread(s)
    Great work. Seen these straw snoots before but usually inside a piece of cardboard. Does that fitting go ok on the SB600 head, or is it a bit loose?

    Cheers
    Leigh
    Nikon D600, 24-70, 300 VR1 2.8, Tamron 60 f2 macro + Kenko tubes. SB800.


    My Nikonians Gallery

  15. #15
    Member
    Threadstarter

    Join Date
    18 Nov 2008
    Location
    Melbourne
    Posts
    271
    Mentioned
    0 Post(s)
    Tagged
    0 Thread(s)
    andrew is correct about the reason you would use a grid over a single snoot tube. it is just more efficient at making the light go straight. a grid spot with 20mm long straws would be heaps more effective than a snoot of the same length (or even longer). and because the light is controlled and packed tight, you can turn down the intensity which improves recycle times. and because it still spreads a bit, you can control the size of the spot by varying the distance to the subject. you also get a very nice gradual fall off and an even circle despite the rectangular shape of the flash head.

    leigh, it fits on the SB600 quite securely. it hasn't fallen off accidentally yet - the rubber has some grip i guess. however my fake tungsten omnibounce covers fall off the tapering SB600 head all the time and makes it annoying to colour balance the light.

  16. #16
    Ausphotography Regular
    Join Date
    27 Nov 2008
    Location
    Wunghnu Victoria
    Posts
    1,436
    Mentioned
    0 Post(s)
    Tagged
    0 Thread(s)
    Thanks NAM. The clear Stofen I got with my SB800 does the same thing on the SB600. I'm pretty sure they do make them specifically for the SB600 as well.

    Cheers
    Leigh

  17. #17
    Member
    Join Date
    25 Dec 2007
    Location
    At home
    Posts
    190
    Mentioned
    0 Post(s)
    Tagged
    0 Thread(s)
    in what other situations would you use a grid over a bare speedlite (yes such a newbie question)

  18. #18
    Ausphotography Regular
    Join Date
    27 Nov 2008
    Location
    Wunghnu Victoria
    Posts
    1,436
    Mentioned
    0 Post(s)
    Tagged
    0 Thread(s)
    Quote Originally Posted by nisstrust View Post
    in what other situations would you use a grid over a bare speedlite (yes such a newbie question)

    Basically when ever you want a spotlight effect to emphasize the subject or a certain aspect of the subject (see link below). Usually snoots are used in a fairly controlled environment or studio.

    http://lightingmods.blogspot.com/200...id-part-2.html


    Cheers
    Leigh

  19. #19
    Member HappySnapper's Avatar
    Join Date
    23 Oct 2008
    Location
    Adelaide
    Posts
    11
    Mentioned
    0 Post(s)
    Tagged
    0 Thread(s)
    I used Stubby-Holders for the same sort of thing !!

    Neoprene that stretches to suit over your Speedlight head, and only $1 at "The cheap shop".

    Cut the bottom off 'em and you have a neat tube, glue in straws (I used craft-glue) the black straws (length to suit) and you're done !!

    HappySnapper.

Posting Permissions

  • You may not post new threads
  • You may not post replies
  • You may not post attachments
  • You may not edit your posts
  •