That does make sense! I'm slowly getting the grasp of all these numbers hehe.. so should I go take another set with the settings you posted and see how it turns out? What priority should I set my camera to?

 |
  |
 |
 Thanks useful information: 0

That does make sense! I'm slowly getting the grasp of all these numbers hehe.. so should I go take another set with the settings you posted and see how it turns out? What priority should I set my camera to?
Ok, so I just headed out and used the settings you mentioned in manual (M).. I definitely see the maths working now! I hope its ok to post another set of photos...
Photo 1
ISO 100
Shutter Speed - 1/250
F-Stop - f/11
Photo 2
ISO 1600
Shutter Speed - 1/4000
F-Stop - f/11
Awesome! Thank you for helping me learn something new today
Good job Cathi. Looks like you've done exactly what Kym was suggesting and by the sounds of it learnt something in the process. Well done
Michael.
Camera: Canon EOS 400D w/ Battery Grip (BG-E3)
Lenses: Sigma 10-20, Sigma 24-70, Canon 50 f/1.8 & Sigma 70-200
Software: Adobe Photoshop Lightroom 1.4 and Photoshop CS3
Photos: http://www.flickr.com/photos/mrjorge/
and youll notice your exposure is now identical .. good job
Hi Im Darren
www.darrengrayphotography.com
SONY A850 (FF)] + GRIP | SONY A350 (APS-C) + GRIP | SONY NEX-5 +16 2.8 + 18-55 E-MOUNT LENSES | CZ 85 1.4 | 50 1.4 | 28-75 2.8 | 70-200 2.8 | 2 x 42AMs | 24" imac | LR | CS4 | + loads of other junk
Yes! Well done!
Now.... the noise in #2 is hardly noticeable!
Why? High ISO noise is more noticeable in low light situations; and these photos have good light.
This is to do with the electronics and the signal to noise ratio being bad in low light situations.
See: previous post http://www.ausphotography.net.au/for...961#post236961
ergh.. i'm tired and my brain is moosh but i want to understand the exposure triangle.... so despite having read it before i will attempt to read it again. Oh, i just stared at the numbers for long enough to realise what the maths of it is. Thank god that was not too hard!
I have not taken a photo for 36hours. It's probably still light enough outside..... nah, i'll finish this glass of wine instead...
Chelle.
I've had my camera on AUTO for far too long... learning the ropes on my Sony A300.
C&C welcome - but keep it simple!
I'm more interested in capturing memories than in taking the best photo ever (that's my excuse and I'm sticking to it!)
In the learning guide I said it takes 2 - 4 months. http://www.ausphotography.net.au/for...ad.php?t=24290Originally Posted by chelle

Not without reason! You could do everything in the learning guide in a few days BUT you would not absorb the understanding!
Don't rush - its just takes time for this stuff to be 2nd nature and not some theoretical maths.
The odd glass of Shiraz (or whatever) does not hurt the process either!

Tried my shots in side.
First is:
ISO 100
Set Ap to f/5.2
Shutter was 1/1.6
Second is:
ISO 1600
Ap the same - f/5.2
Shutter was 1/20
As I was holding the camera, rather than tripod the first shot has a bit of shake due to the slowness of the shutter - causing a really soft image.
It was much faster the second time for a slightly sharper image. A bit hard to see the noise as the area was relatively good for lighting. I might try your suggestion Kym later tonight to see evidence of noise a bit easier.
Olympus E-510 | Kit lenses Olympus 14mm- 42mm, 40mm- 150mm & newly acquired 50mm f/2
Photoshop Elements 6 | Velbon Tripod |FL-36 Electronic Flash
Next on the hit list is Sigma 10mm - 20mm
Any comments and critique welcome.
 Threadstarter
Nic... Look at the background on the right side of your shot, where the shadow area is, you can see the noise there quite pronounced in the second shot compared to the first. As has been said, noise first becomes apparent in shadow areas, before the rest of the photo.
Good work.
"It is one thing to make a picture of what a person looks like, it is another thing to make a portrait of who they are" - Paul Caponigro
Constructive Critique of my photographs is always appreciated
Nikon, etc!
RICK
My Photography
Thanks Rick - Have to admit I was looking more at the sauce and the left side of the pic. But now I do see it.
Hi All,
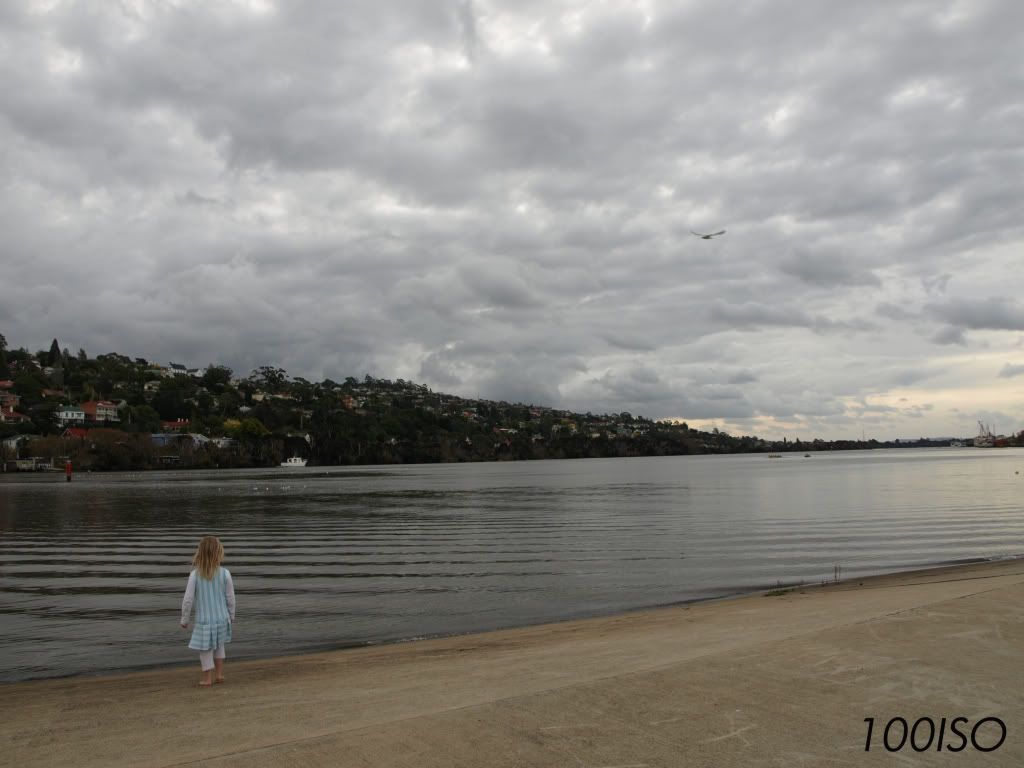
I took the op after work yesterday to grab my daughter and head down to the regatta grounds to take a few shots using different ISO settings. On my camera I have the choice between 100,200,400,500,1600. (So I did um all)
The first shot is 100ISO looking over the Tamer River, cloudy day.
Olympus E410
f8
1/100
100 ISO
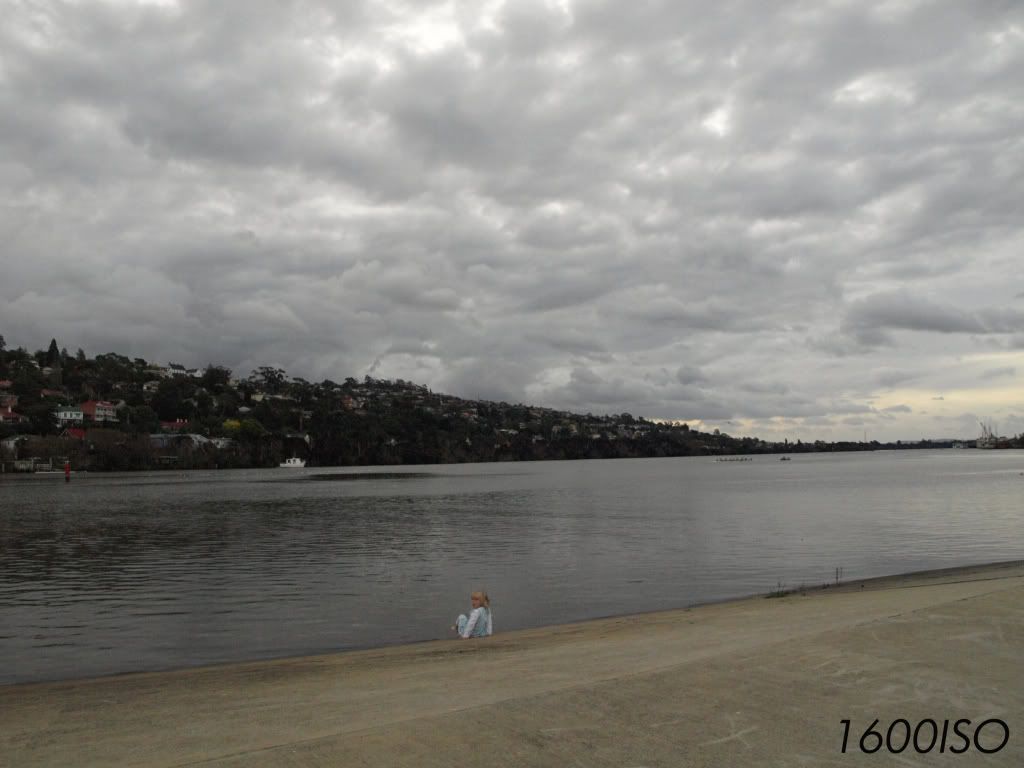
Olympus E410
f8
1/1250
1600 ISO
When physically taking the pictures I noticed that I had to increase the shutter speed on average around 3 stops (probably not correct terminology) per increase if ISO value.
Therefore the higher ISO I was using the more sensitive to light my image sensor became, needing a faster shutter speed to get the correct (or in my case near enough) exposure.
At first I didn't see the noise in this picture, however when I attempted to zoom in, I could visually see the grainy texture. Once I could pic up on it I noticed the noise in the hills at the back and the foreground around my daughter.
JaQson
Olympus E-410
14-42mm Zuiko Lens
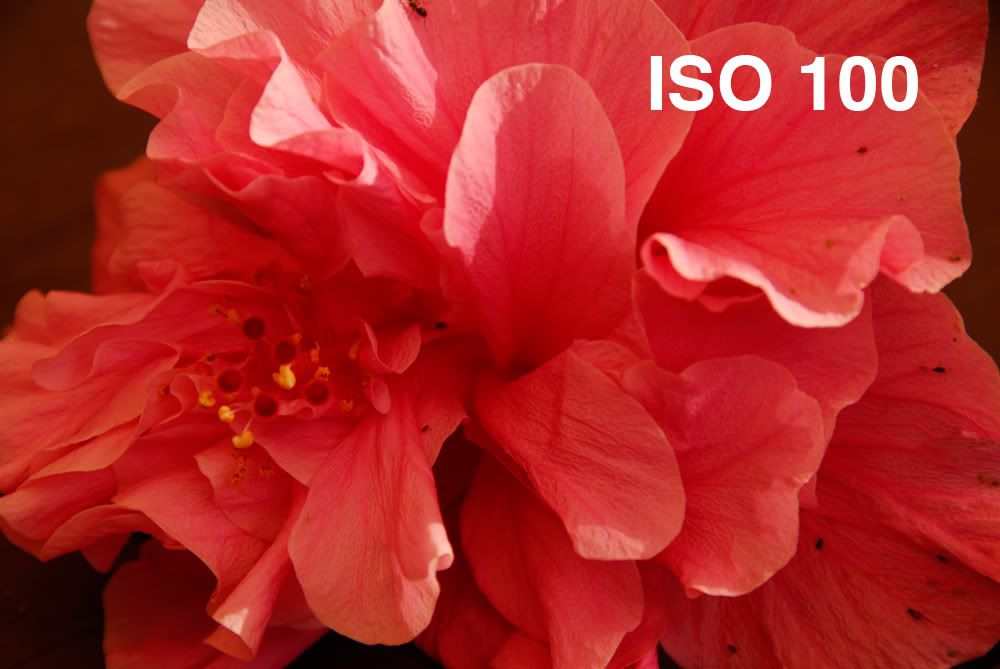
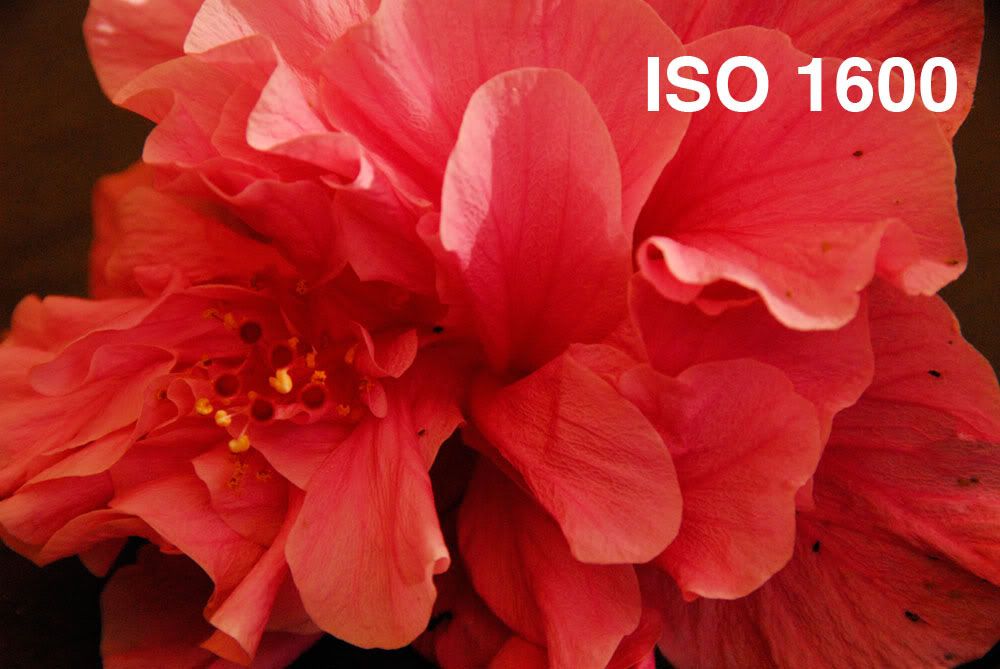
Thought I would have a go at this since I have never really played around much with ISO(usually tried to keep it on 100), but I'm now starting to realise it's a very important adjustment, perhaps just as important as aperture and shutter speed.
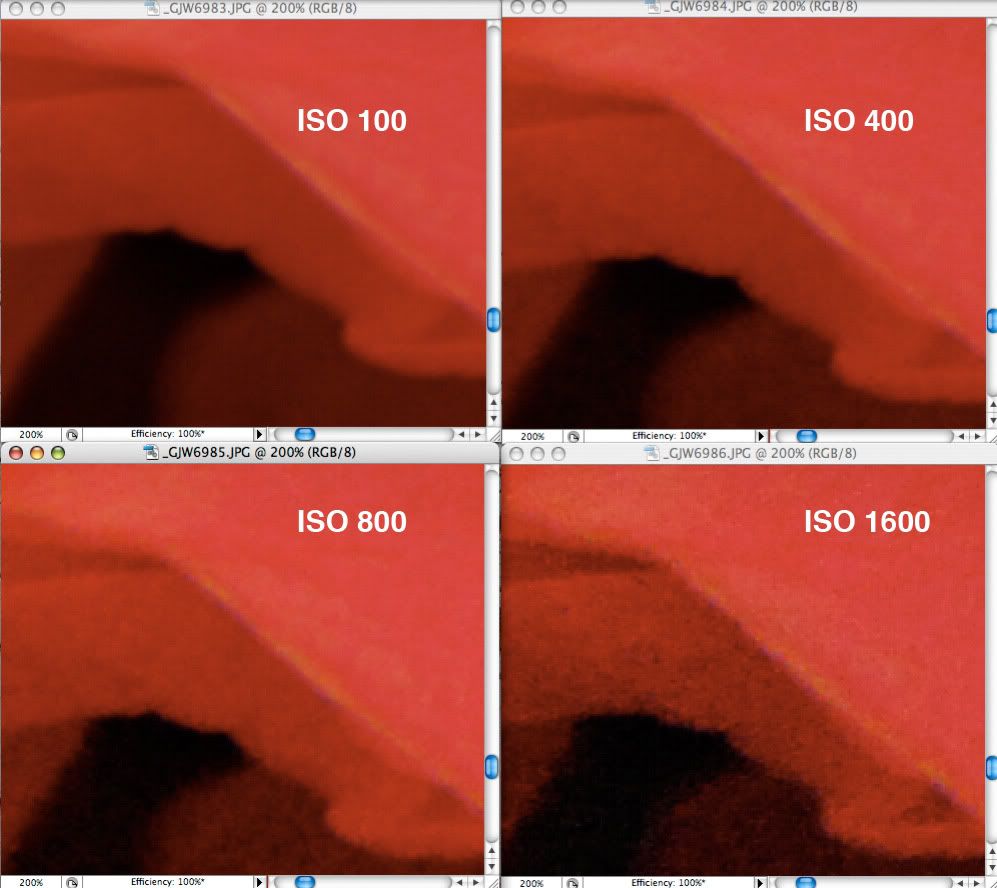
These photos of a hibiscus were taken with a tripod and a Nikon D200. The camera was set to Aperture priority with f10. The camera set the shutter speed as I changed the ISO settings.
The D200 is now a few years old and I believe the newer Nikons handle noise at higher ISO levels much better.
These are screen grabs of straight out of the camera jpegs with no adjustments to the image in photshop.
These close ups are viewed at 100%..the same size as if the print was printed full size.
These four show the intermediate stages at 200%....I also took shots at ISO 400 and ISO 800 so that you can see the gradual degradation of the image.
I suppose it's all a fine balancing act of deciding the image quality you want, the end size you may print it at (in good quality) and either capturing, missing or blurring the shot.
As an aside, if you are looking at several versions of the same image like I have done, it's very handy in Photoshop to use the Window>Arrange>Tile horizontally feature and also the Window>Arrange>Match Zoom and Location feature.
Greg
Please feel free to rework any of my images on this forum.
I also welcome any constructive criticism or suggestions.
http://www.gregwallis.com
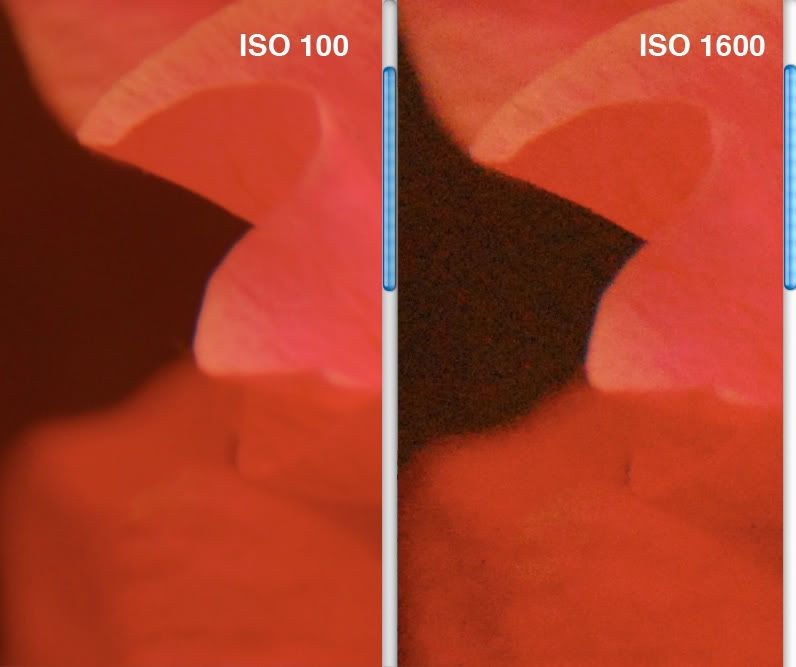
These are about 15% of the full picture, I think that would make it a 600% crop?
ISO 100 0.8 f/5.6
ISO 1600 1/20 f/5.6
Ok, we've made the sensor more sensitive to light (by 4 stops) in order to reduce the shutter speed from 0.8 to 1/20 (4 stops), at the cost of introducing more noise. The noise can be removed in PP (haven't tried this yet so don't know how effective it is at this level).
Mostly you want to keep the camera at it's ideal/base ISO to minimise noise but you may need to bump up the iso when you need to get a certain aperture/shutter combination - probably especially important for those of us without 'fast' lenses who have less range to play with!
Would be important to know what the acceptable limit of your camera's ISO is before you get too much noise and how much you can remove in PP. Also depends on the size you plan on looking at/printing the image - the noise in the ISO1600 shot wasn't readily apparent in the original shot, only once you zoom in.
Olympus E-620
ZD 12-60 SWD f/2.8-4.0, ZD 70-300 f/4.0-5.6
ZD 14-40mm f/3.5-5.6 (kit), ZD 42-150mm f/4-5.6 (kit), ZD 35mm f/3.5 Macro
Cokin filter holder and ND grads, CPL filters, Velbon 600R Tripod
My pictures on Flickr
I'm here to learn so feel free to rework my photos if you think improvements can be made!
Threadstarter
Another good evaluation Skelly. You can post process noise out (neat image and noise ninja being two good bits of software that do it well). Generally though noise removal results in some smoothing of the photo, and sharpening is often needed in conjunction with noise removal.
A good scenario for higher ISO is sports shooting on dull days, or under lights, letting you get the shutter speed needed to freeze the action.
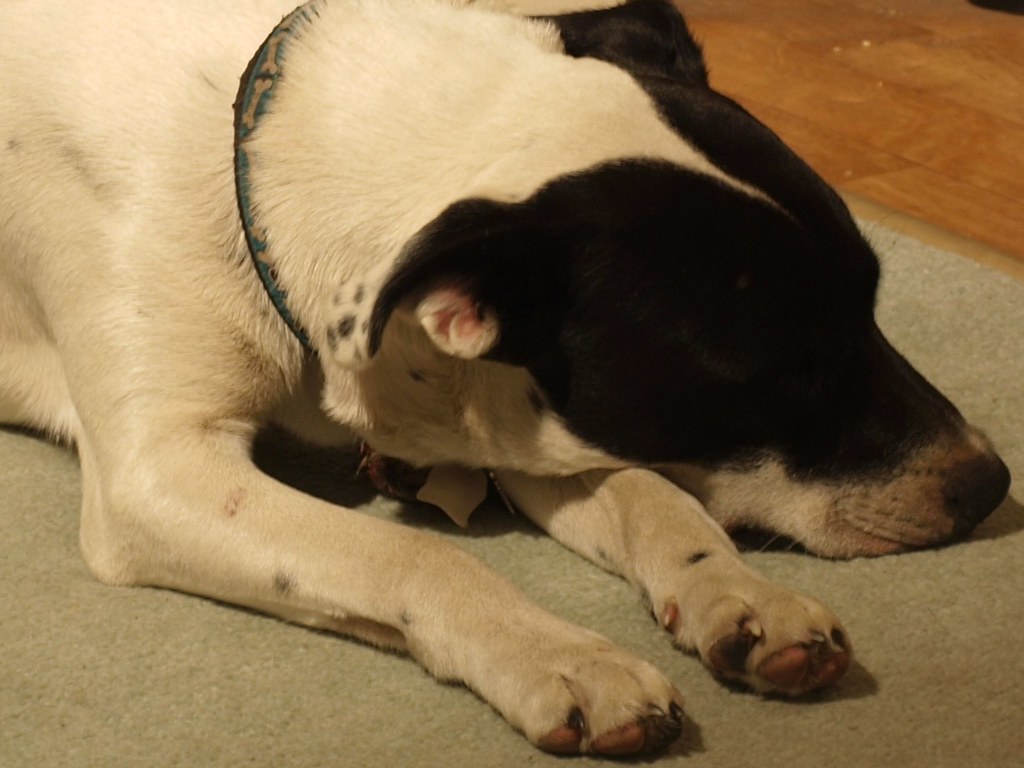
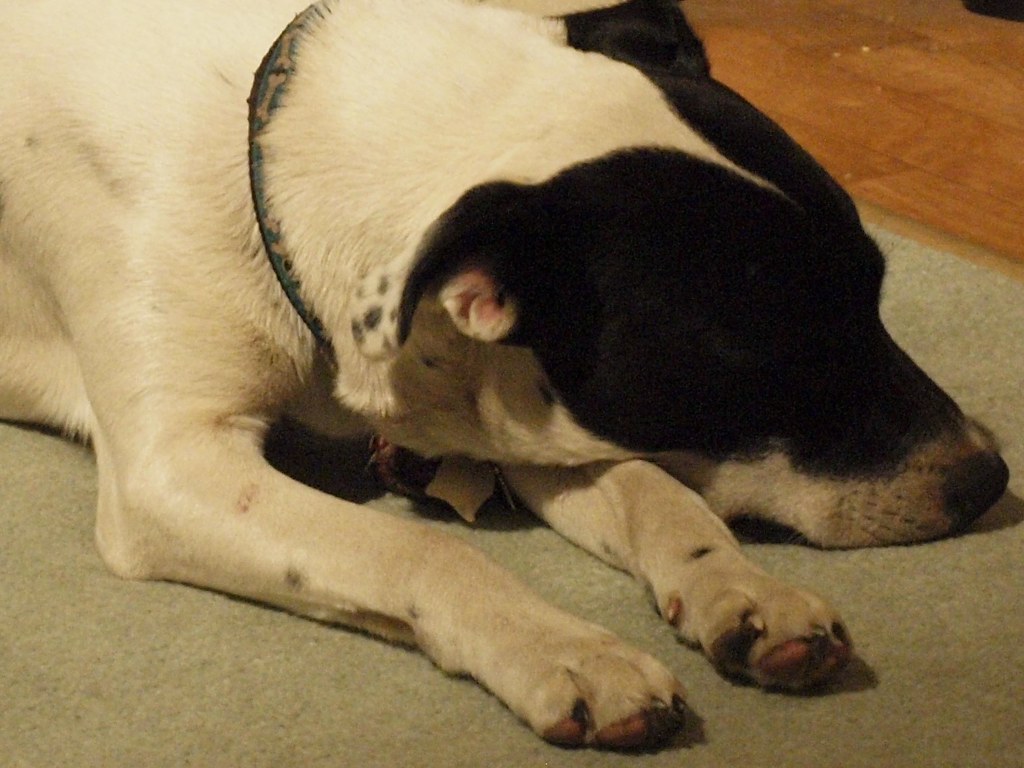
Just had a quick play in the loungeroom for this challenge, my very sleepy dog was the subject. Here's the results :
ISO 100, F22 18 sec :
ISO 1600, F22, 1.1 sec :
So in poor lighting, cranking up the ISO gives you a faster shutter speed but at the expense of having more noise in the background. But if you don't have a tripod handy or steady base to rest your camera it may be an option worth considering to gain some low light shots. As Rick mentioned, you can recover the image with some noise reduction in a graphics editing program.
D800 & D7000
Flickr : http://www.flickr.com/photos/crouchy69/
500px : http://500px.com/GlennCrouch
DeviantArt : http://starkillerb89.deviantart.com/
Threadstarter
These were my results. Now I don't know if it's old eyes or not, but I can't seem to find the noise difference, more so just the exposure difference. (excuse me if I'm wording this all wrong). Should I try a different subject matter or background to see the difference?
Outside full sun
ISO 100
F16
SS 1/80
ISO 1600
F16
SS 1/1250
Inside no flash (I used the table as my tripod
ISO 100
F4.5
SS 2
ISO 1600
F 4.5
SS 1/13
cheers 'n' chuckles sports fans!
Oh, I forgot to add. I can see a the noise in the other photos (some after they were pointed out).
I just had a go too.
Aperture=f/6.3
ISO=100
Shutter Speed=2.5sec
Aperture=f/6.3
ISO=1600
Shutter Speed=1/6sec
The noise in the second photo is quite obvious in comparison to the first one.
Through this challenge i learnt that a decrease in ISO number results in a decrease in shutter speed, to allow more light to hit the sensor. Through this principle i'm assuming a higher ISO is used for hand held shot in low light, as it would have a faster shutter speed. Good for me, since i don't have a tripod yet, although it would be at a cost of image quality.
Hope that made sense. Well it does in my head
Lucky
Canon 60D
Canon 24-105mm L
Sigma 10-20mm EX DC HSM
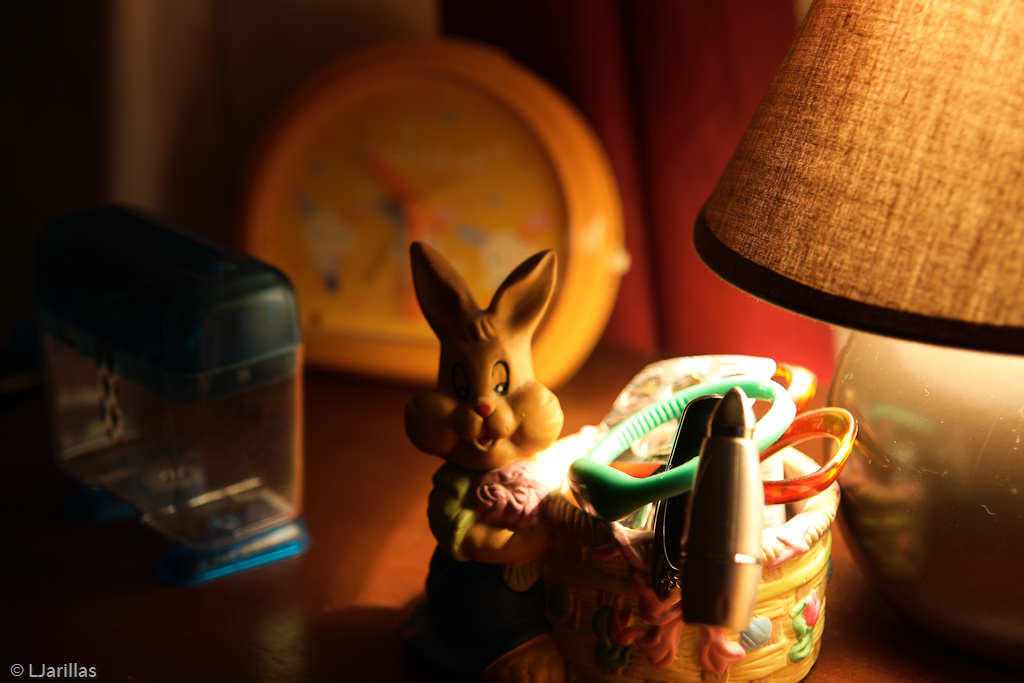
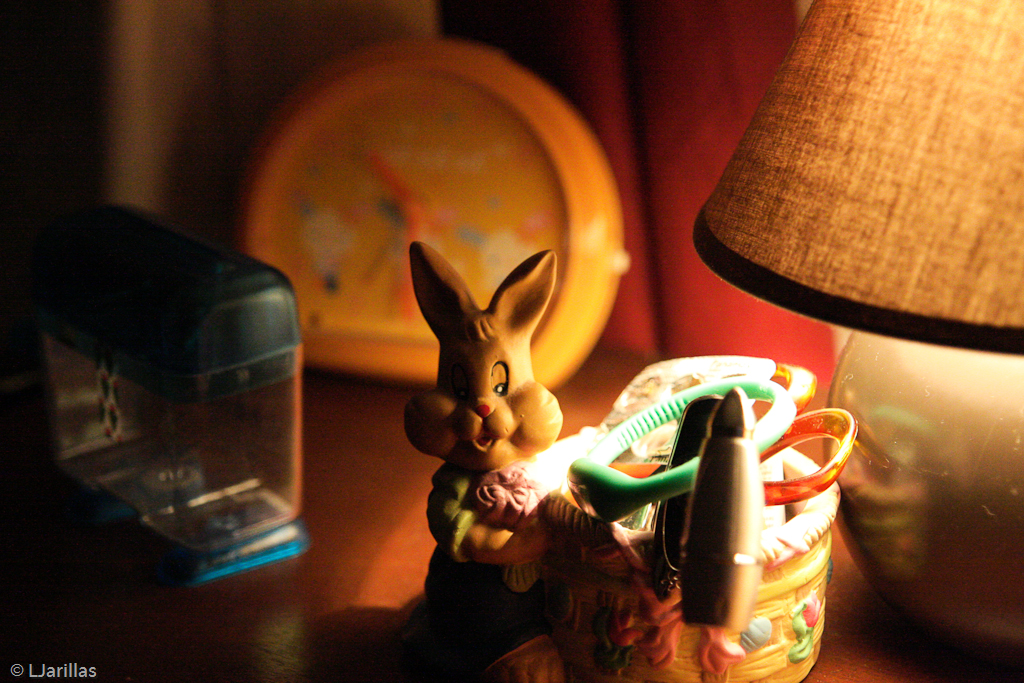
ok.. i thought i might give this a go and here are the results..
first, with ISO100, 1/4 sec
then, with ISO3200, 1/100 sec (grainy and noise very noticeable)
initially, what i wanted was to have the two shots to have the same settings except the ISO so I put it on manual and dialled in the aperture and shutter speed.. fine with the first photo.. but when I adjusted the ISO, the camera "cried foul" and gave me a warning that the photo would be over-exposed and this is due to the very high ISO ("light sensitivity") so I had to change the shutter to 1/100..
indeed, I will be using higher ISOs on handheld shots when there is little light available to allow for faster shutter and avoid motion blur and camera shake(now I want an 2.8 IS lens


 Reply With Quote