User Tag List

Thanks useful information Thanks useful information:  1
Page 5 of 8 FirstFirst ... 2345678 LastLast
Results 81 to 100 of 157

Thread: Challenge I - Aperture and Depth of Field

  1. #81
    Administrator
    Threadstarter
    ricktas's Avatar
    Join Date
    24 Jun 2007
    Location
    Hobart
    Posts
    16,846
    Mentioned
    12 Post(s)
    Tagged
    1 Thread(s)
    The DOF preview button is an interesting one

    The best way to understand its effect is to do the following:

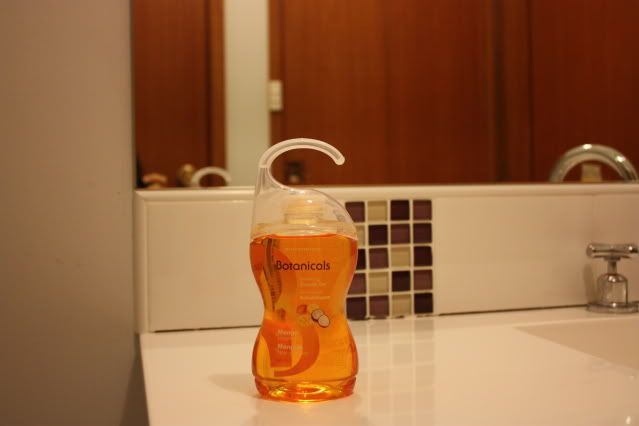
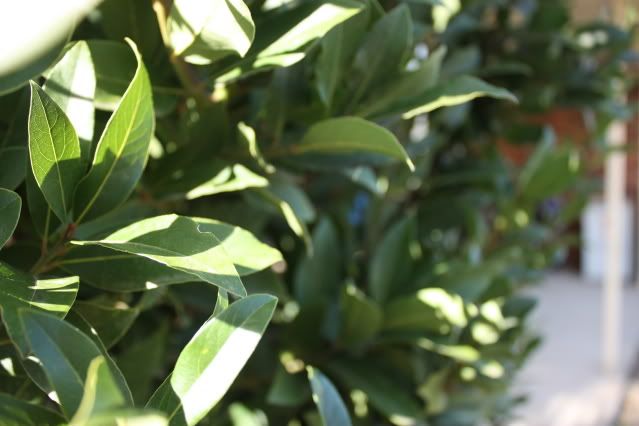
    - Find a subject like a rose or flower.
    - Set your aperture to the largest (smallest f number)
    - Focus on your subject and press the DOF preview button
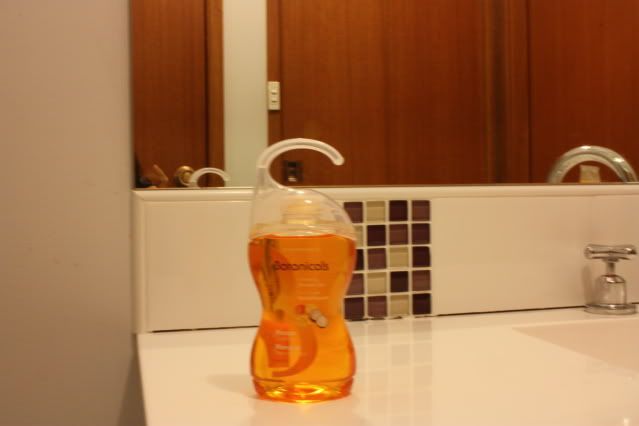
    - Change the aperture to the smallest (largest f number)
    - Focus on your subject and press the DOF preview button

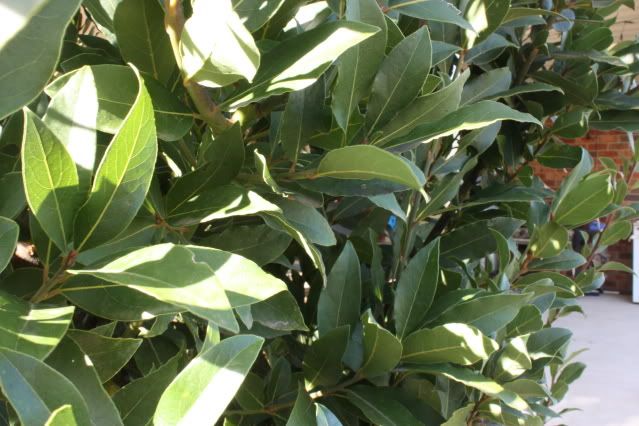
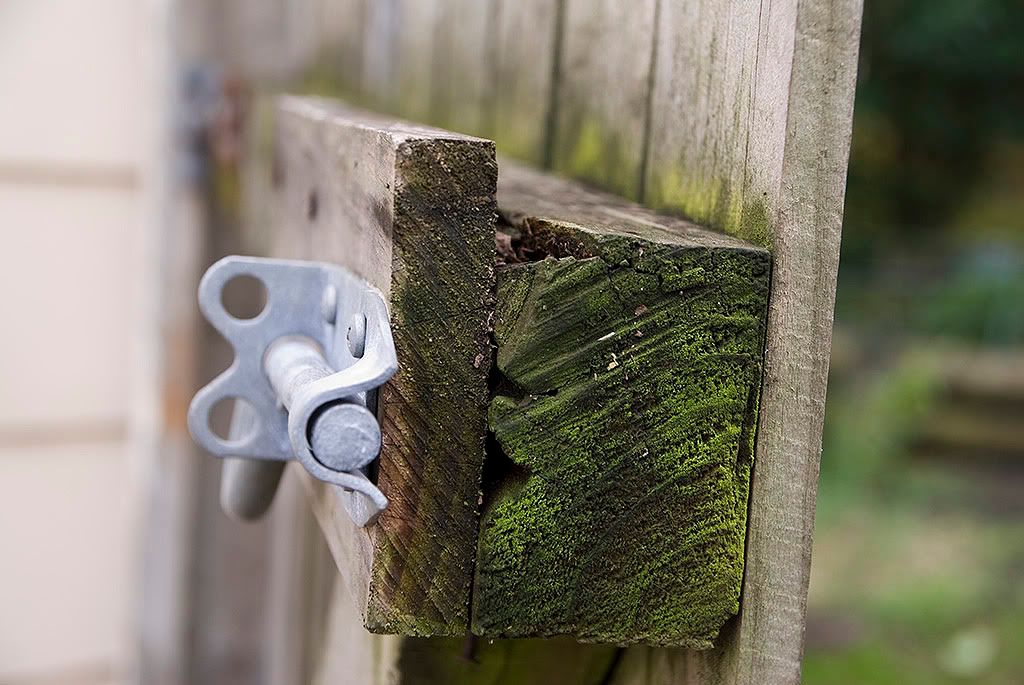
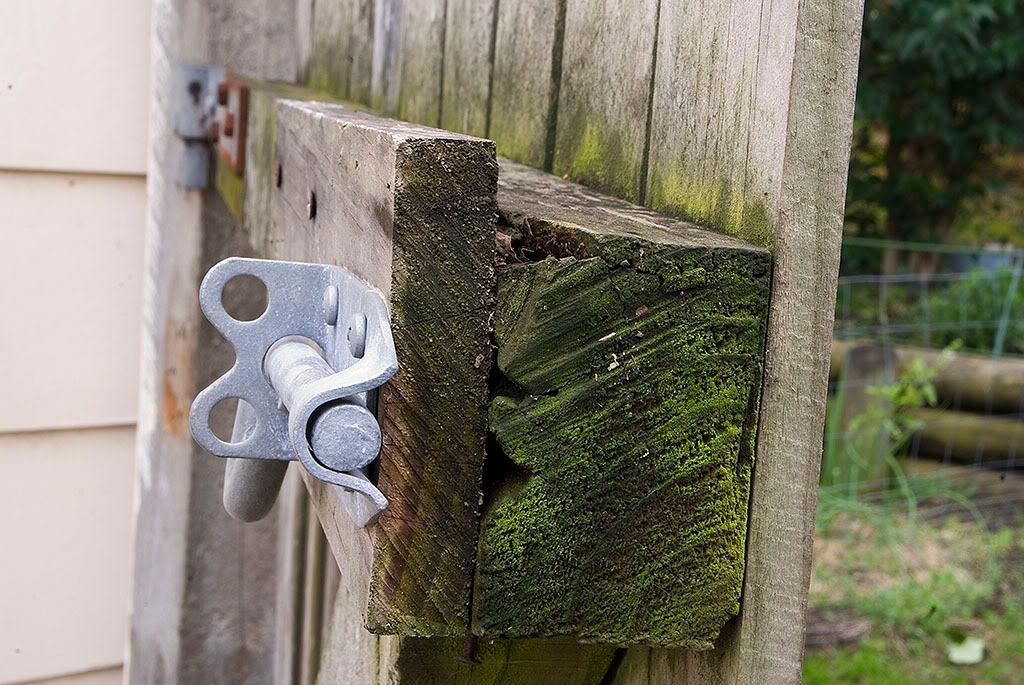
    When you have the DOF preview button depressed, look around your viewfinder, not just at your rose or flower. If you swap between largest and smallest aperture a few times while you try this, you will see the difference and gain an understanding of how it work.

    Initially it just looks like it makes the whole scene darker, but that is not true, and by doing the above experiment you will gain an insight into how it works.
    "It is one thing to make a picture of what a person looks like, it is another thing to make a portrait of who they are" - Paul Caponigro

    Constructive Critique of my photographs is always appreciated
    Nikon, etc!

    RICK
    My Photography

  2. #82
    Member
    Join Date
    26 Aug 2008
    Location
    Hills District, Sydney
    Posts
    22
    Mentioned
    0 Post(s)
    Tagged
    0 Thread(s)
    Amazing.

    Your explanation and another google search and I found my answer. Like you said - look past the "darkening" of the picture and the smaller the aperture, the clearer the pictures are.

    Thanks.
    EOS 450D + EF 50mm f/1.8 II prime + EF-S 18-55mm

  3. #83
    Member Hamish McHaggis's Avatar
    Join Date
    01 May 2009
    Location
    Melbourne
    Posts
    104
    Mentioned
    0 Post(s)
    Tagged
    0 Thread(s)

    1st post from a newbie

    What a great site Rick, I'm looking forward to learning heaps.
    Here is my go at this challenge; first shot is at f/29, second is at f/4.5. Depth of field is obviously less at f/4.5.


    cheers
    Colin
    Here to learn; please critique and/or rework my images

  4. #84
    It's all about the Light!
    Tech Admin
    Kym's Avatar
    Join Date
    15 Jun 2008
    Location
    Modbury, Adelaide
    Posts
    9,632
    Mentioned
    23 Post(s)
    Tagged
    0 Thread(s)
    Good work Colin!
    Keep this in mind next time you do a portrait / candid to kill the background (and for people focus on the eyes, not the nose)
    regards, Kym Gallery Honest & Direct Constructive Critique Appreciated! ©
    Digital & film, Bits of glass covering 10mm to 500mm, and other stuff


  5. #85
    Member Hamish McHaggis's Avatar
    Join Date
    01 May 2009
    Location
    Melbourne
    Posts
    104
    Mentioned
    0 Post(s)
    Tagged
    0 Thread(s)
    Thanks Kym, will keep that in mind!
    My two pics seem to have disappeared....can still see them on Picassa though...odd...

  6. #86
    It's all about the Light!
    Tech Admin
    Kym's Avatar
    Join Date
    15 Jun 2008
    Location
    Modbury, Adelaide
    Posts
    9,632
    Mentioned
    23 Post(s)
    Tagged
    0 Thread(s)
    Quote Originally Posted by Hamish McHaggis View Post
    Thanks Kym, will keep that in mind!
    My two pics seem to have disappeared....can still see them on Picassa though...odd...
    I can see them.

  7. #87
    Ausphotography Regular
    Join Date
    17 Dec 2008
    Location
    Willowbank
    Posts
    1,304
    Mentioned
    1 Post(s)
    Tagged
    0 Thread(s)
    I cant see them either?
    Regards
    John
    Nikon D750, Sigma 105mm OS Macro, Tokina 16-28 F2.8, Sigma 24-105 Art, Sigma 150-600C,
    Benro Tripod and Monopod with Arca plates


  8. #88
    Member Hamish McHaggis's Avatar
    Join Date
    01 May 2009
    Location
    Melbourne
    Posts
    104
    Mentioned
    0 Post(s)
    Tagged
    0 Thread(s)
    Yeah I still can't see them - I'll try again from a different hosting site:
    f/29:

    and f/4.5:

    cheers

  9. #89
    Member bee's Avatar
    Join Date
    10 Dec 2007
    Location
    Sydney
    Posts
    8
    Mentioned
    0 Post(s)
    Tagged
    0 Thread(s)
    In Av mode, to gain more DOF (ie: larger f number) it will set itself to longer shutter speed.
    For outdoor shoot with no tripod, I tend to get shaky pictures due to the long shutter speed, either from my hand not steady or the person move.
    Are there any ways or tips to improve this ?

    Thanks.

  10. #90
    It's all about the Light!
    Tech Admin
    Kym's Avatar
    Join Date
    15 Jun 2008
    Location
    Modbury, Adelaide
    Posts
    9,632
    Mentioned
    23 Post(s)
    Tagged
    0 Thread(s)
    Quote Originally Posted by bee View Post
    In Av mode, to gain more DOF (ie: larger f number) it will set itself to longer shutter speed.
    For outdoor shoot with no tripod, I tend to get shaky pictures due to the long shutter speed, either from my hand not steady or the person move.
    Are there any ways or tips to improve this ?

    Thanks.
    In a word - yes. A deeper DoF (Av) will mean a slower shutter thus more prone to camera shake.

    Subject movement can only be 'frozen' by faster shutter speed. You can improve shutter speed by increasing ISO.

    Use the Camera/Lens SR, IS, VR (depending on brand); improve your stance; brace; etc.
    Read this: http://www.ausphotography.net.au/for...ad.php?t=24043

  11. #91
    Member
    Join Date
    01 Jun 2008
    Location
    Hunter Valley
    Posts
    15
    Mentioned
    0 Post(s)
    Tagged
    0 Thread(s)
    OK, now that I feel like I have some direction, I'm game enough to post photos (in the beginner section anyway!) A huge thanks to Rick & Kym, the way these threads (in NTP) are set up are a godsend to someone like me who had no idea where to start!

    So, my first go at aperture shots, didn't exactly work as I understood it would from my reading:

    1. f/4, shutter speed 1/20


    2. f/25, shutter speed 2 sec


    I noticed that the shutter speed was longer & therefore the photo (2) is lighter, from having let more light in. (Inside at night.) However, the writing on the bottle in photo 2 is blurrier, even though the camera was on a tripod. I thought this would have been clearer, as the door knob in the mirror's reflection is??? Is i something to do with over-exposure? (haven't gotten to that tutorial yet.)

    This is a much better example, the next day outside:

    3. f/4, shutter speed 1/125


    4. f/25, shutter speed 1/13


    This is what I expected. While only the front left-hand leaves are in focus in photo 3, all the leaves are in focus, as well as the background in photo 4. The shutter speeds in both photos are much faster than inside the night before, having a lot of natural light. No tripod for this one.

    Any comments or tips for me? Thanks in advance!
    Ang
    Canon EOS 450D twin IS lens kit
    A beginner, with an eagerness to learn...

  12. #92
    Administrator
    Threadstarter
    ricktas's Avatar
    Join Date
    24 Jun 2007
    Location
    Hobart
    Posts
    16,846
    Mentioned
    12 Post(s)
    Tagged
    1 Thread(s)
    Good work Ang, in your first ones it looks like a movement issue, even though you used your tripod. This can be caused by many things, the most common is the movement created by pushing the shutter button. When you push your shutter button, gently squeeze it, rather than press it.

  13. #93
    Member
    Join Date
    13 Mar 2008
    Location
    Brisbane
    Posts
    686
    Mentioned
    0 Post(s)
    Tagged
    0 Thread(s)
    Quote Originally Posted by ricktas View Post
    When you push your shutter button, gently squeeze it, rather than press it.
    Or use a remote shutter release cable... or if you want the simple, cheap option put the timer on so you press the shutter and there is a 2 sec delay before it opens the shutter. This means it won't be movement caused by you pressing the shutter button.
    Michael.

    Camera: Canon EOS 400D w/ Battery Grip (BG-E3)
    Lenses: Sigma 10-20, Sigma 24-70, Canon 50 f/1.8 & Sigma 70-200
    Software: Adobe Photoshop Lightroom 1.4 and Photoshop CS3
    Photos: http://www.flickr.com/photos/mrjorge/

  14. #94
    Member sketty's Avatar
    Join Date
    25 Apr 2009
    Location
    **Suburb/Town Required**
    Posts
    7
    Mentioned
    0 Post(s)
    Tagged
    0 Thread(s)
    As I was doing these in the evening I also had some issues with noise and blur, as the lighting was a bit dim the shutter speed was already fairly slow, and the iso was bumped to compensate as well.

    Ended up locking in the ISO at 1000 to keep it constant and sat the camera on the table to reduce movement problems.

    I tried quite a range of these at different focal lengths to see the difference between the two lenses I've got. Due to the lack of decent light most of them came out underexposed so these ones are the best examples.

    Observations:
    1. As aperture is decreased the exposure time is increased to compensate for the reduction in light.
    2. As aperture decreases the DOF increases.
    3. If you don't have adequate light and you're on auto-ISO the camera will probably also increase the ISO = more noise.
    4. Increasing the focal length decreases the DOF, in the f/22 shot the figures are all in focus (though the rear one is a bit soft) but the background is still out of focus, though less so than in the f/11 and f/5.6 shots. These figures were only a couple of cm apart, so the DOF at 150mm is quite a narrow range - maybe 5cm (the Oly's a 4/3s sensor so 150mm is a 300mm full frame equivalent).
    5. Once you know what you're doing you can use a combination of aperture and focal length to achieve the specific DOF look you are after.

    A. f/5.6 1/13


    B. f/11 0.3


    C. f/22 1.3


    Cheers,
    Sketty
    Olympus E-620
    ZD 12-60 SWD f/2.8-4.0, ZD 70-300 f/4.0-5.6
    ZD 14-40mm f/3.5-5.6 (kit), ZD 42-150mm f/4-5.6 (kit), ZD 35mm f/3.5 Macro
    Cokin filter holder and ND grads, CPL filters, Velbon 600R Tripod

    My pictures on Flickr
    I'm here to learn so feel free to rework my photos if you think improvements can be made!

  15. #95
    Administrator
    Threadstarter
    ricktas's Avatar
    Join Date
    24 Jun 2007
    Location
    Hobart
    Posts
    16,846
    Mentioned
    12 Post(s)
    Tagged
    1 Thread(s)
    Good work Sketty. You have sumarised it well, and hopefully it will let you get more creative shots in future

  16. #96
    Member Inspired's Avatar
    Join Date
    11 May 2009
    Location
    Geraldton
    Posts
    190
    Mentioned
    0 Post(s)
    Tagged
    0 Thread(s)
    okay i'm confused...must be doing something wrong - so any suggestions much appreciated.
    (will post some examples once i uplaod to the pc). but thought i would ask why i'm thinking about it.
    Alright i tried this quite a few time - got it working when i shot flowers/plants, at 2.8 background was quite blurred then at 22 clear. But when i tried it on different things i just couldn't get it to work - i did everything the same way but could not get a noticeable DOF even using 2.8, tried using kids blocks lined up, tehn tried focusing just on the toy lawn mower in the background and HEAPS of other things, but when looking through the shots between 2.8 and 22, there isn't really any difference in DOF, why can i get it to work on plants but nothing else? I'm completely baffeled by what i'm doing wrong...

  17. #97
    Administrator
    Threadstarter
    ricktas's Avatar
    Join Date
    24 Jun 2007
    Location
    Hobart
    Posts
    16,846
    Mentioned
    12 Post(s)
    Tagged
    1 Thread(s)
    Inspired, the further your subject is from the lens the less the effect is noticable. So a flower shot is close to the lens and you see the effect, but if you take a photo of a person up against a wall from 10 metres away, the depth of field is greater.

    for example

    So say a 50mm lens set to f1.8 and your flower is half a metre from the lens, your depth of field (depth front to back in focus) is from 49centimetres - 51 centimetres, but move your flower to 5 metres away and the depth of field is from 4.51 metres - 5.61 metres. So up close our DOF is 2cm's, but at 5 metres it is over 1 metre

    So the further your subject is from your lens the greater the depth of field at the same aperture, so you have to ensure your background is even further away.

  18. #98
    Member
    Join Date
    28 Dec 2008
    Location
    NW Sydney
    Posts
    676
    Mentioned
    0 Post(s)
    Tagged
    0 Thread(s)
    I've decided I need to get back to basics and refresh my memory so I can build on re-learning what I should know, so I'm going to go through all the NTP challenges. So here's my first project :

    First at F4.8 :


    and then at F22 :


    The smaller aperture gives you a sharper background, but does slow down the shutter speed so a tripod was necessary to achieve the second shot.

  19. #99
    Member Humps n Bumps's Avatar
    Join Date
    19 May 2009
    Location
    Armidale NSW
    Posts
    18
    Mentioned
    0 Post(s)
    Tagged
    0 Thread(s)
    First off, I have to say THANK YOU! This is fantastic.

    I have played with cameras (film and P&S) for years, and only now have I learned that the aperture can be used for so much more. I have always just used it for correct exposure, and that's about it. I have had so much fun learning how to play with the subject. I've learned that by using this function correctly, you can make or break the shot, turn the ordinary into the extraordinary.

    Oh, and I've also learned that my husband is NOT good subject matter when practicing. 
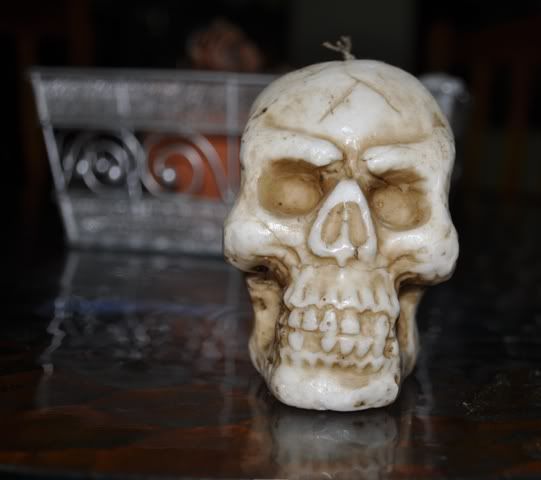
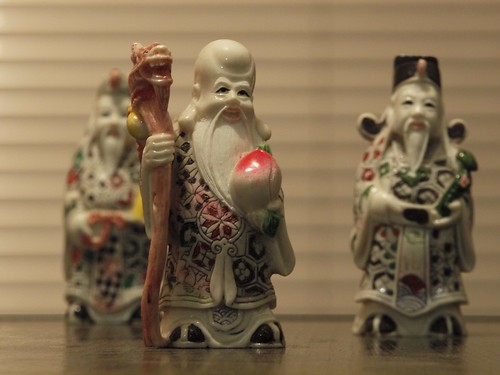
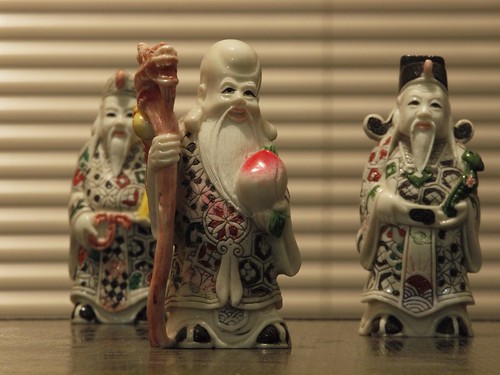
I think I'll stick to the inanimate objects for now.

    Okay, here's my efforts for tonight, all shots were with a flash. I'll practice in the sun when we get some.

    f4.5


    f22.0


    This was trying the different focus points. ( Is that the right term?)


    cheers 'n' chuckles sports fans!

  20. #100
    Administrator
    Threadstarter
    ricktas's Avatar
    Join Date
    24 Jun 2007
    Location
    Hobart
    Posts
    16,846
    Mentioned
    12 Post(s)
    Tagged
    1 Thread(s)
    Great work guys

    and Humps n Bumps, your comment about your husband not being good subject matter cracked me up when I looked at your skull shots. Me was thinking I don't blame him if you take this long...LOL

    Well done with the aperture challenge and an understanding of how you can creatively change the scene you are capturing by selecting a different and suitable depth of field.

Page 5 of 8 FirstFirst ... 2345678 LastLast

Tags for this Thread

Posting Permissions

  • You may not post new threads
  • You may not post replies
  • You may not post attachments
  • You may not edit your posts
  •